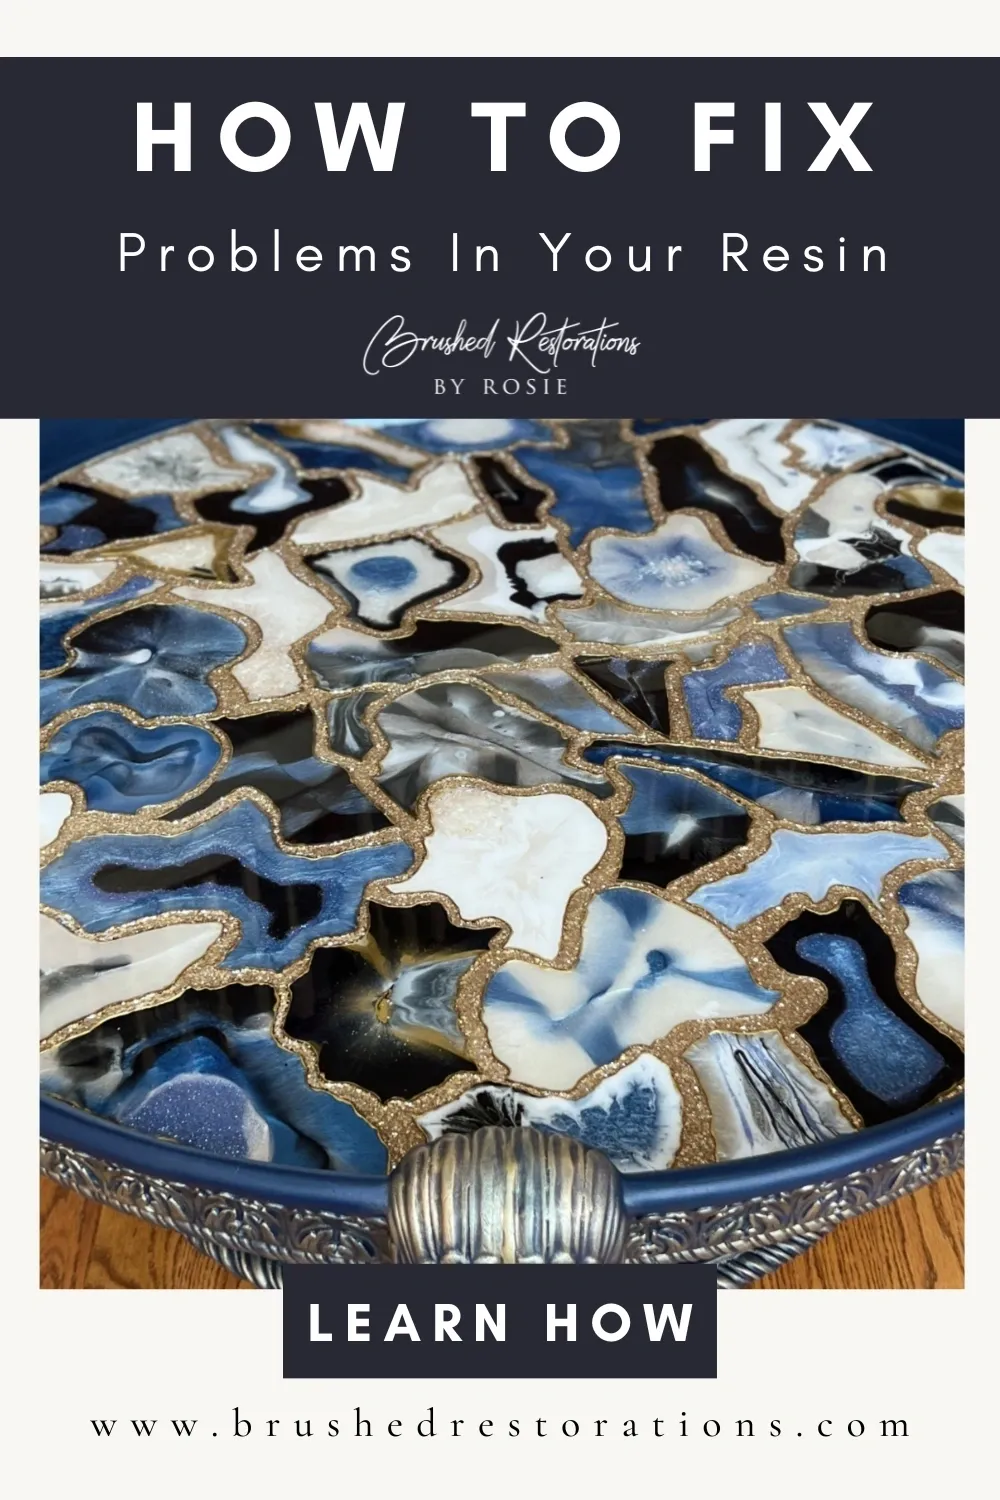
Bugs! What to do when a bug lands into your resin. How to fix it.

If you’ve ever worked with resin, you know the frustration of watching a bug land right in the middle of your perfect pour. Whether you’re working on a small coaster or a large project like a geode coffee table, a stray insect can feel like a disaster. But don’t worry—bugs in your resin aren’t the end of the world! With a little patience and the right tools, you can fix the issue and restore your resin art to its glossy perfection.
In this post, I share a video on how I fixed my resin geode coffee table when a bug decided to stick to it while it cured. Whether you’re a beginner or a seasoned resin artist, these tricks will save your projects and your sanity.
Watch this quick video on how to remove bugs or unwanted debris from your resin. Learn helpful tips and tricks for fixing smudges or mistakes.
Materials You’ll Need to Fix Bugs in Resin
When a bug landed in my resin geode coffee table I panicked —but with the right tools and techniques, you can remove the insect and salvage your project without compromising the final look. Here are the materials you’ll need to fix this common resin mishap:
Step-by-Step Guide: How to Remove a Bug from Resin and Fix the Surface
- Assess the Situation
- Determine whether the resin is wet, tacky, or fully cured. For cured resin, proceed with the following steps to remove the bug and repair the surface.
- Remove the Bug with Precision Tools
- Use a rotary tool with a fine bit or a razor blade to carefully carve out the bug and any surrounding imperfections. Work slowly to avoid creating deep grooves or damaging the surrounding resin.
- Sand the Area Smooth
- After removing the bug, use fine-grit sandpaper (400–600 grit) to gently smooth out the area. Sand in a circular motion until the surface feels even. Wipe away dust with a clean cloth.
- Clean the Area with Isopropyl Alcohol
- Use a lint-free cloth or paper towel soaked in isopropyl alcohol to clean the sanded area. This removes dust and debris, ensuring the surface is ready for the next layer of resin.
- Prepare a Fresh Resin Mixture
- Mix a small amount of resin and hardener according to the manufacturer’s instructions. Stir thoroughly for 3–5 minutes to ensure proper curing.
- Re-Pour the Resin
- Carefully pour the fresh resin over the sanded area. Use a stir stick or brush to spread it evenly, ensuring the repaired section blends seamlessly with the rest of the piece.
- Eliminate Bubbles
- Use a heat gun or a torch to remove any bubbles from the newly poured resin. Hold the tool about 6–8 inches away to avoid overheating or scorching the resin.
- Cover and Cure
- Protect your piece from dust, bugs, or debris by covering it with a clean box or plastic bin. Allow the resin to cure fully, following the manufacturer’s curing time (usually 24–48 hours).
Pro Tips for Preventing Bugs in the Future
- Work in a dust- and bug-free environment, such as indoors or in an enclosed space. Read more in Resin Art: Mastering the Dust-Free Finish – My Secrets Revealed.
- Use a protective cover for your resin art while it cures.
- Apply a light adhesive spray around your workspace to deter flying insects.
Watch How I Created This Stunning Resin Geode Coffee Table
If you’re curious about how I tackled resin challenges and brought this geode coffee table to life, check out my quick YouTube video for additional steps and insights:
In the video, I share more details about my process, including tips for working with resin and creating flawless finishes.
Want to know exactly what colors I used to create this stunning piece? Scroll down to see the full list of supplies that helped make this project a success.
RESIN:
MEYSPRING PIGMENT POWDERS:
TOOLS:
Rotary Tool, Sand Paper, Isopropyl Alcohol
Conclusion: Don’t Let Bugs Ruin Your Resin Art
Bugs landing in resin can feel like a disaster, but with the right tools and a bit of patience, it’s a problem you can easily fix. Whether you’re carving them out with a rotary tool, sanding down imperfections, or re-pouring resin for a seamless finish, these steps will help you restore your piece to its original beauty.
Remember, prevention is key! Protect your workspace, keep your projects covered during curing, and always stay prepared for unexpected mishaps. Resin art is as much about creativity as it is about problem-solving, so don’t let small challenges like a bug get in the way of your artistic vision.
For more tips, tricks, and resin art inspiration, check out my Free Quick Start Resin Basics Guide or explore my blog for troubleshooting advice and project ideas. With the right knowledge and techniques, every resin project can be a success!
Hi There, I’m Rosie
I’m a mixed media artist who turned my passion for resin art into a thriving business, Brushed Restorations by Rosie. I love luxury, bold creativity, and helping other artists transform their hobbies into successful businesses. Between creating custom art pieces and teaching online courses, you’ll find me juggling life with my four kids and chasing new ideas to inspire creators like you!
My mission? To empower artists to grow their skills, build their brands, and make their art dreams a reality.


